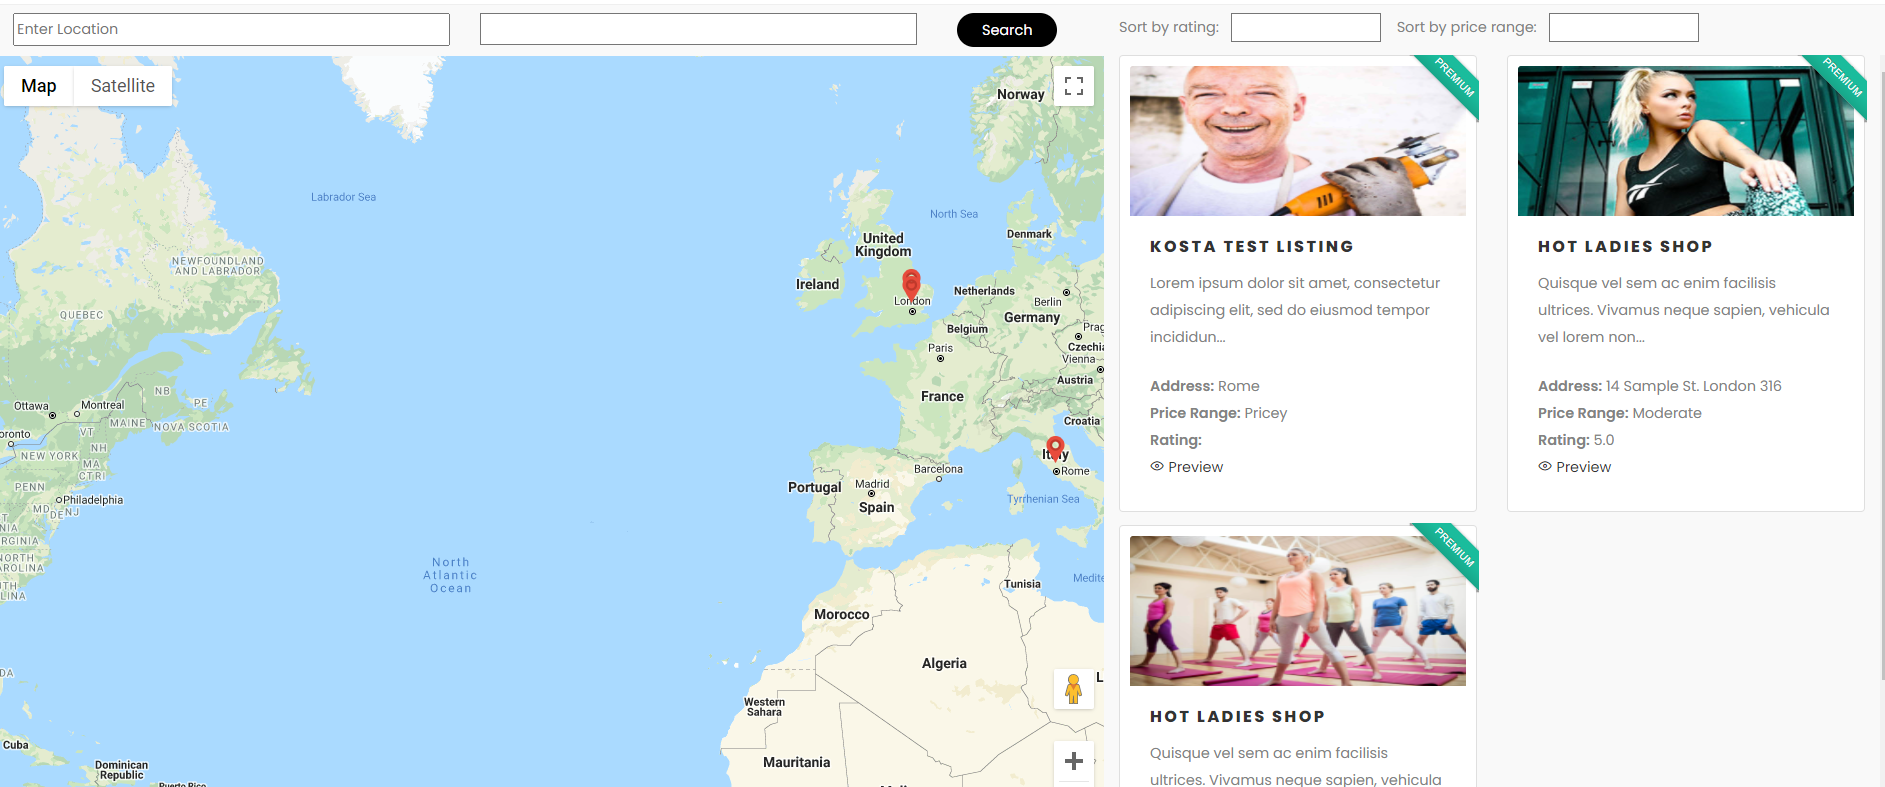
No official Google Maps location? No problem!
Do you want to show Google Maps pins on custom places that aren’t “official” locations on a Google Map?
No problem, in this article you’ll learn exactly how to display your location on a Google Map using coordinates!
Why embed a Google Map using coordinates?
Well, maybe you don’t have a business account on Google so your Maps location doesn’t exist yet.
Or maybe you just can’t—or don't want to—get the Google GMB verification but still need a way to display your location on a Google map.
This step by step guide will show you how!
Note: this guide is a bit technical so if you get lost post a comment and we'll be around to assist. 🙂 Otherwise, just follow the steps and you'll be fine.
Requirements
Here's what you'll need for this guide:
1 – Google Maps – premier maps solution by Google.
2 – Google API key (paid) – you'll need to activate a Google API key. It's paid but it's cheap.
3 – A page or post – a place to embed your map! (like a WordPress page)
4 – Header and footer plugin – we'll use this to add our scripts.
Getting you Google API key
1 – To get a Google Maps API key, first, go to the Google API Console and login with your Google account.
2 – Before you can get an API key, you need to create a project.
To create a new project, click the dropdown menu on the top side and click NEW PROJECT on the top-right corner of the appearing popup.

3 – Once you have a project, select it (via the dropdown menu) and click Library on the left panel.

5 – On the top side, you will see several Google Maps APIs on the Maps section.
6 – Select the Maps JavaScript API.

7 – Go back to your project main dashboard and click Credentials on the left panel.
8 – Create a new API key by clicking the Create credentials button and select API key.
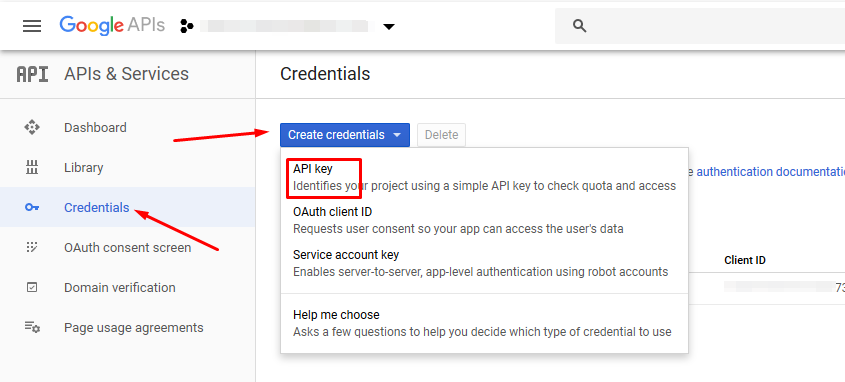
A popup will appear afterward, providing you the API key.
You can now use the API key on your app!
Embed Google Maps API into your page
The Maps Embed API lets you place an interactive map, or Street View panorama on your site with a simple HTTP request.
You can easily embed it into your web page or blog by setting the Maps Embed API URL as the src attribute of an iframe:

Create HTML to display the map on the page
In WordPress, a simple way to embed a Map is to create a new page template and assign the template to your new page.
Before you create the page template, please create your child theme so your work will not be deleted once the theme has official update.
1 – Once you have created the child theme, go to your child theme folder and create a new folder named page-templates

2 – Inside that folder create a new file and name it map-listings.php
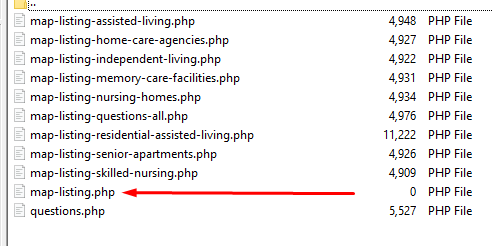
3 – Open the file using your preferred text/code editor and copy / paste the following code into it.
<?php
// Template Name: Map Listings
?>

<?php get_header(); ?>

<?php get_footer(); ?>
4 – After you create your page template, between the get_header and get_footer you need to add this code where you will assign the map.
<div id="map"></div>Note: it's that you add an ID to the element for later use in the script.
Create Javascript function to assign HTML to map
Once you have the HTML element you need to create a Javascript function to “get” the element by its ID.
To create this Javascript function, you need to create a Javascript file and connect the file with your child theme.
1 – First create a new folder called assets in your child theme.
2 – Then add a new file inside this folder and name it scripts.js

3 – Open the scripts.js file you've just created in your code editor and paste the following code into it.
function initMap() {
map = new google.maps.Map(document.getElementById("map"), {
      center: new google.maps.LatLng(43.207118, -32.118391),
      zoom: 4,
     });
}
4 – Once the map is displaying on the element, you need to create an array where you will add the coordinates and any other parameters that you need to display the listings and pins.
To do so add the following code to the scripts.js file:
var listingsinPOV = [];
for (let i = 0; i < listings.length; i++) {
listingsinPOV.push({'image': listings[i]['image'], 'title': listings[i]['title'], 'excerpt': listings[i]['excerpt'], 'url' : listings[i]['url'], 'package': listings[i]['package']});
}
5 – Next you will need to create another array with the latitude and longitude and make another loop to display the pins on your map, like so:
var listingsinPOV = [];
const features = [];
var marker;

for (let i = 0; i < listings.length; i++) {
listingsinPOV.push({'image': listings[i]['image'], 'title': listings[i]['title'], 'excerpt': listings[i]['excerpt'], 'url' : listings[i]['url'], 'package': listings[i]['package']});
features[i] = { 'position': new google.maps.LatLng(listings[i]['lat'], listings[i]['lng']), 'type': 'pin', 'markerInfo': markerContent, 'image': listings[i]['image'], 'title': listings[i]['title'], 'url' : listings[i]['url'] };
}

for (let i = 0; i < features.length; i++) {
      marker = new google.maps.Marker({
      position: features[i].position,
      icon: icons[features[i].type].icon,
      map: map,
});
6 – Make sure that all of the code above is inside initMap function.
So the FULL code for the scripts.js file will look like this:
function initMap() {
map = new google.maps.Map(document.getElementById("map"), {
      center: new google.maps.LatLng(43.207118, -32.118391),
      zoom: 4,
     });

var listingsinPOV = [];
for (let i = 0; i < listings.length; i++) {
listingsinPOV.push({'image': listings[i]['image'], 'title': listings[i]['title'], 'excerpt': listings[i]['excerpt'], 'url' : listings[i]['url'], 'package': listings[i]['package']});
}

var listingsinPOV = [];
const features = [];
var marker;

for (let i = 0; i < listings.length; i++) {
listingsinPOV.push({'image': listings[i]['image'], 'title': listings[i]['title'], 'excerpt': listings[i]['excerpt'], 'url' : listings[i]['url'], 'package': listings[i]['package']});
features[i] = { 'position': new google.maps.LatLng(listings[i]['lat'], listings[i]['lng']), 'type': 'pin', 'markerInfo': markerContent, 'image': listings[i]['image'], 'title': listings[i]['title'], 'url' : listings[i]['url'] };

}

for (let i = 0; i < features.length; i++) {
      marker = new google.maps.Marker({
      position: features[i].position,
      icon: icons[features[i].type].icon,
      map: map,
});
}
Once you’ve done these steps you're ready to “call” your Google map from inside of your WordPress post or page.
Displaying your Google Map in a WordPress post or page
1 – Create a new post or page in WordPress
2 – Select the page template called “Map Listings”
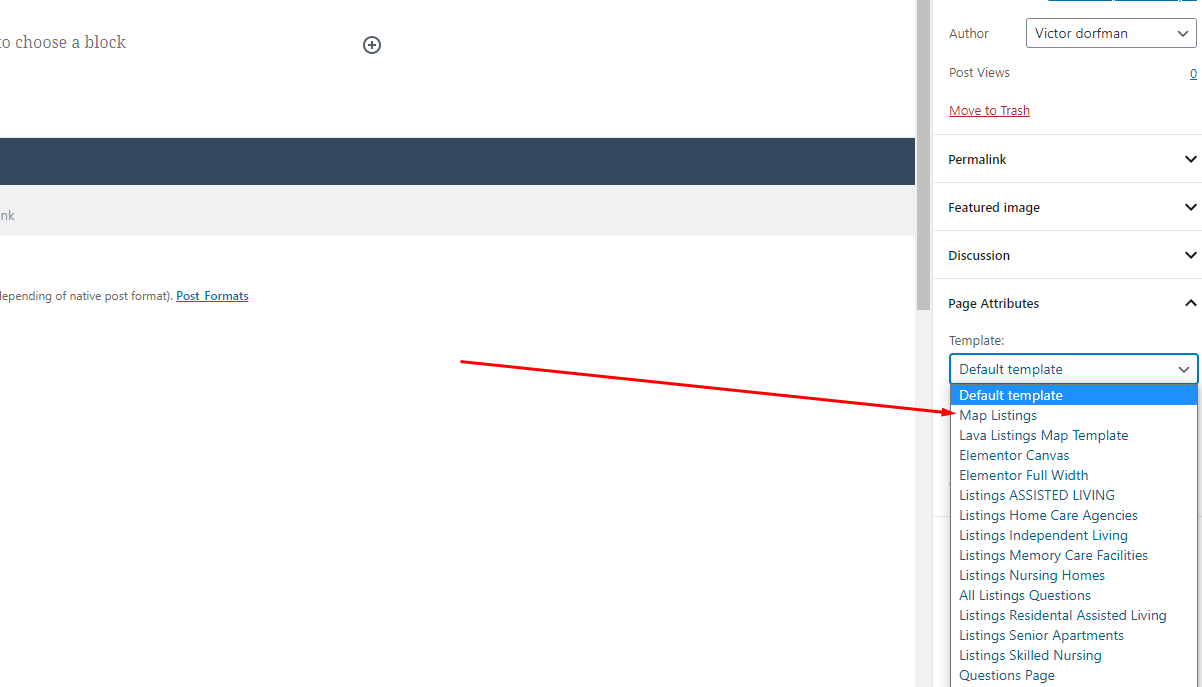
3 – Publish your post or page
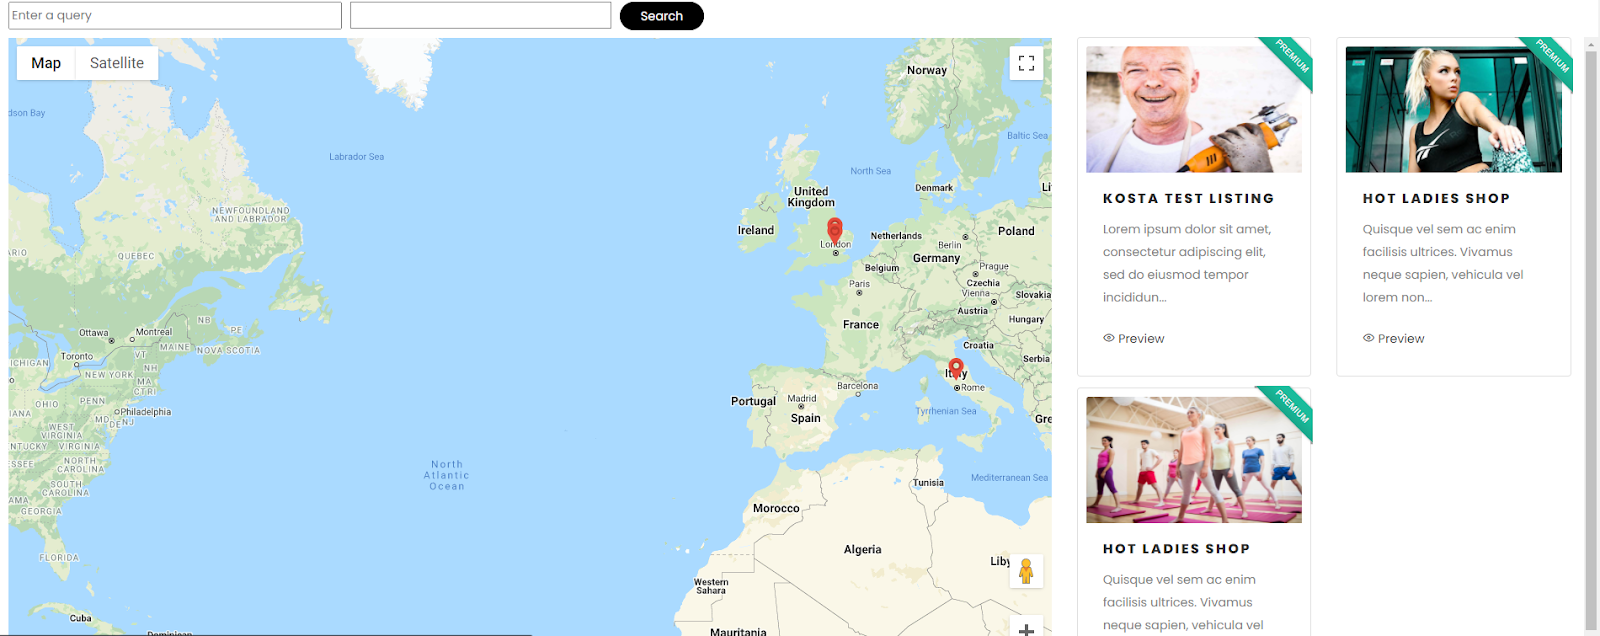
4 – When you visit the page you'll see the map embedded like so