

Overview
In this article I'll show you how to create a slick course Roadmap in Elementor similar to the course roadmap that used to be inside of the Member Site Academy members area.
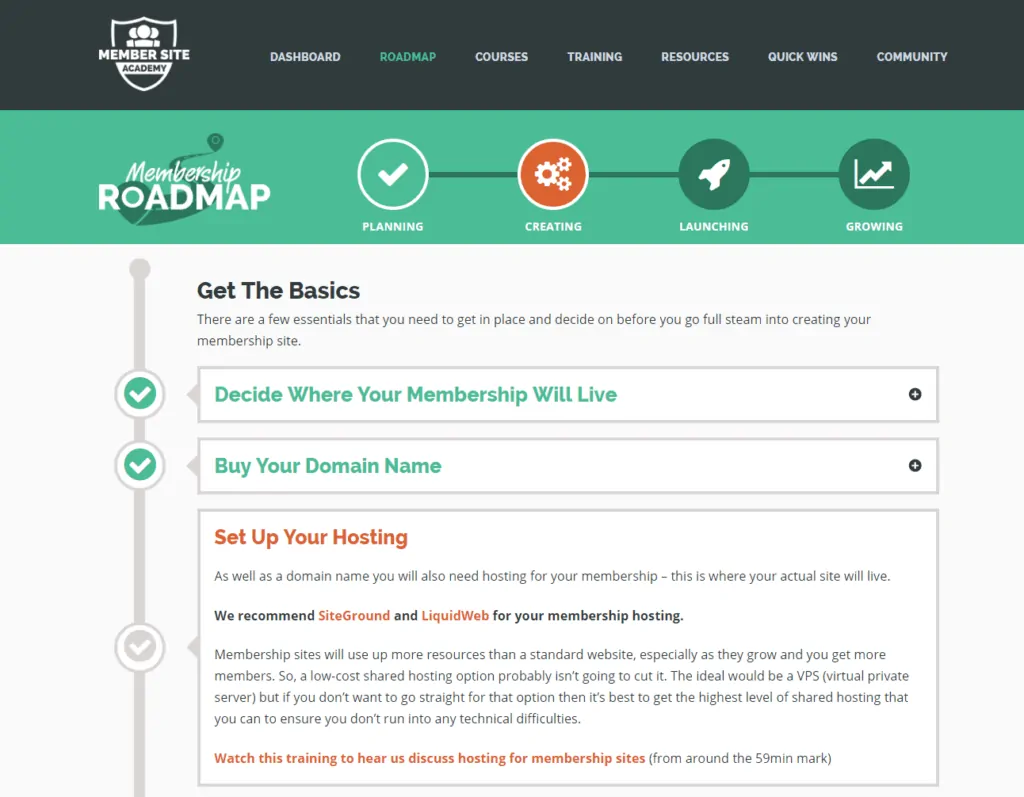
This type of roadmap is also a native feature of the WPeP LMS plugin, which we use here at MemberFix for team trainings and our free mini course.
Here is an example of how the WPEP Roadmap looks:
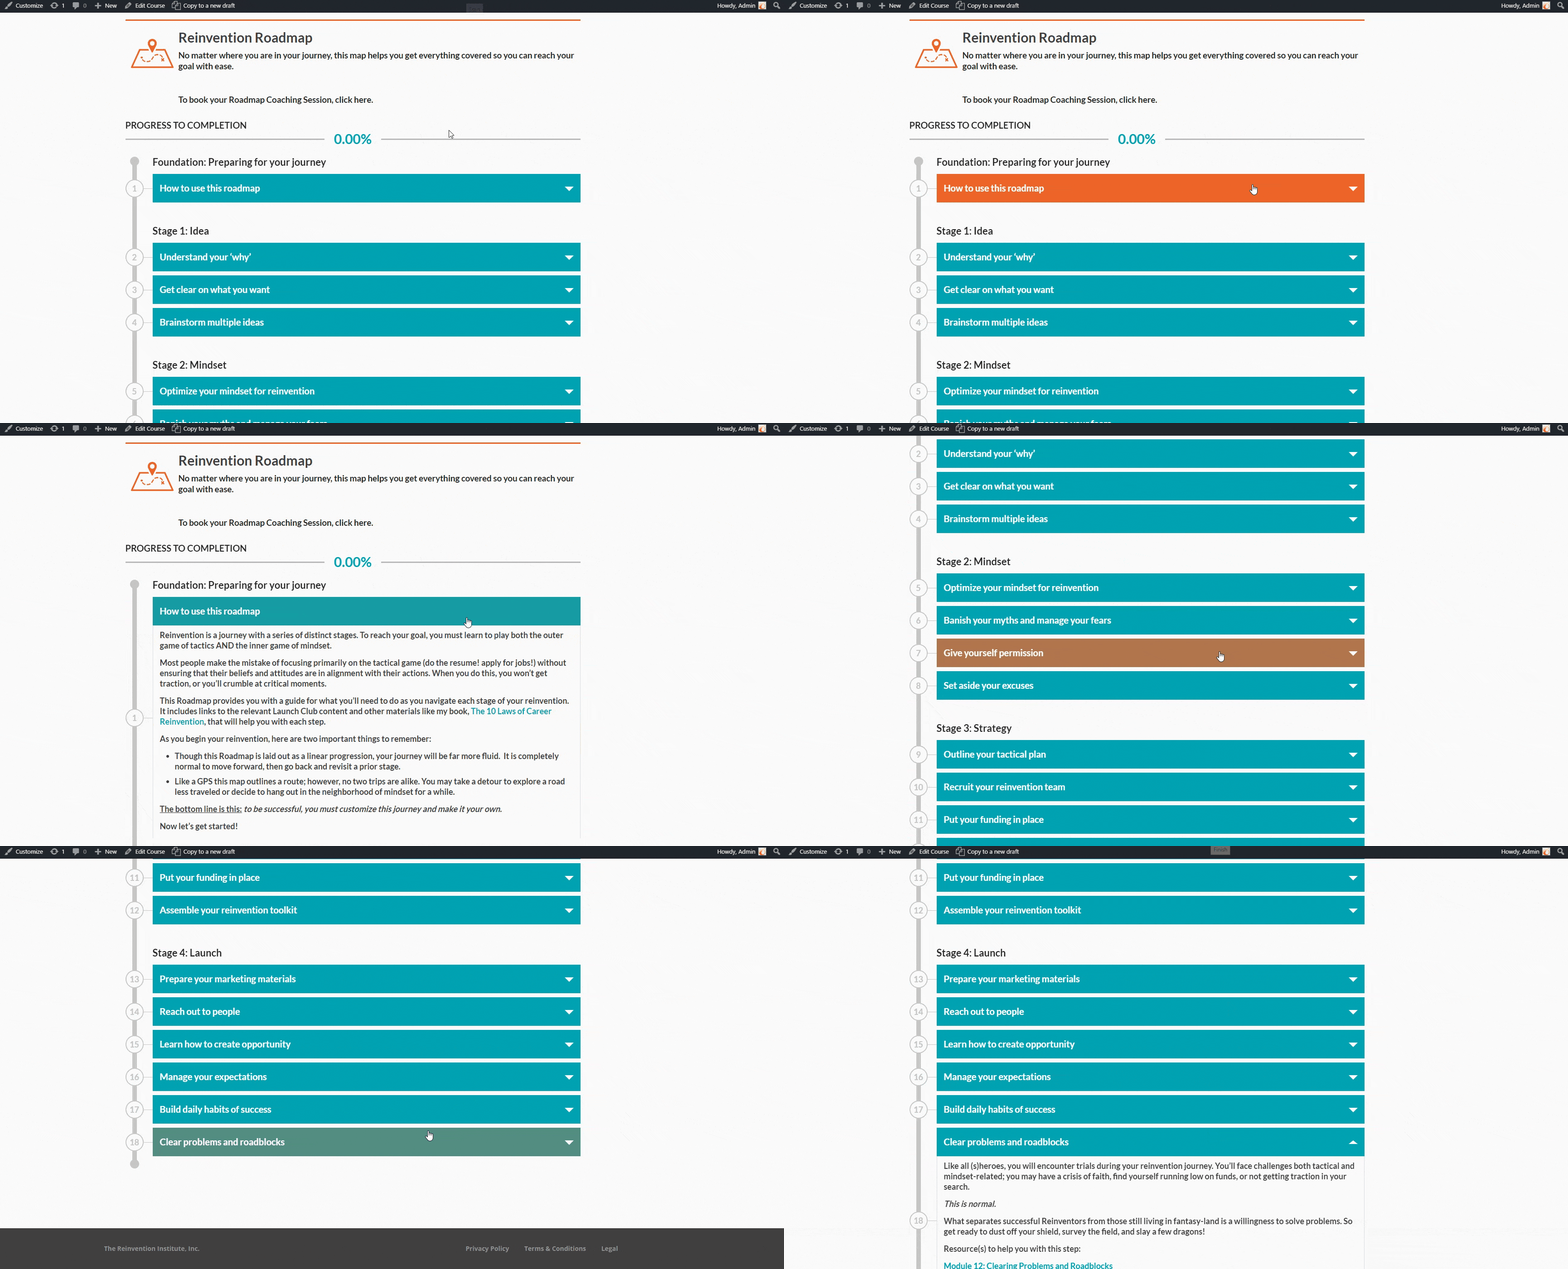
In the following steps we will recreate and make it much prettier using Elementor.
Why switch to the Elementor version?
1 – If you are already using Elementor, you know how much freedom you have in terms of styling pretty much anything on the page.
2 – The user experience is much better.
3 – Equally, or more attractive to visitors than the WPEP version (depending on your tastes).
4 – If you're already using Elementor and don't want to add another plugin to your stack you won't have to!
Elementor setup and configuration
Install Elementor Page Builder
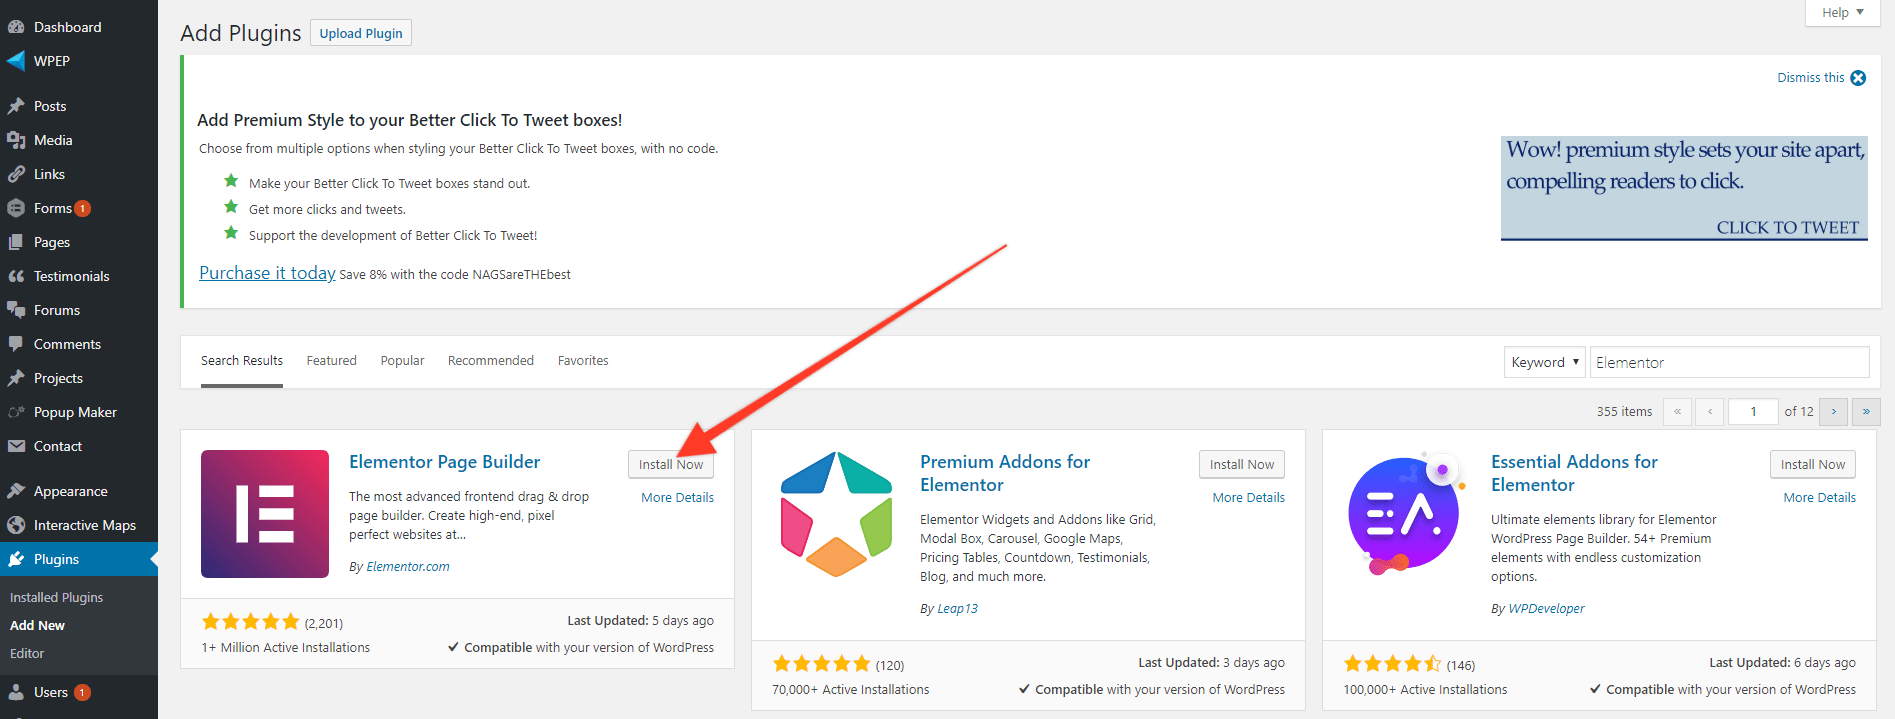
1 – If you don't have it already installed, navigate to Plugins => Add New.
2 – Search for Elementor.
3 – You should see Elementor Page Builder below, click Install and then Activate when available:
Install Ultimate add-ons
1 – First you'll need to go purchase Ultimate Addons for Elementor.
2 – From uaelementor.com navigate to My Account => Downloads.
3 – Download your “Ultimate Addons for Elementor” zip file.
4 – Open your WordPress Dashboard and navigate to Plugins => Add New.
5 – On upper left corner click on Upload Plugin.
6 – Click Choose File, navigate to your downloaded “Ultimate Addons for Elementor” zip file, select it and click Open.
7 – Click Install Now.
8 – After the installation finishes click on Activate.
Let's start creating our Roadmap
1 – Create new page.
2 – Click on Edit with Elementor.
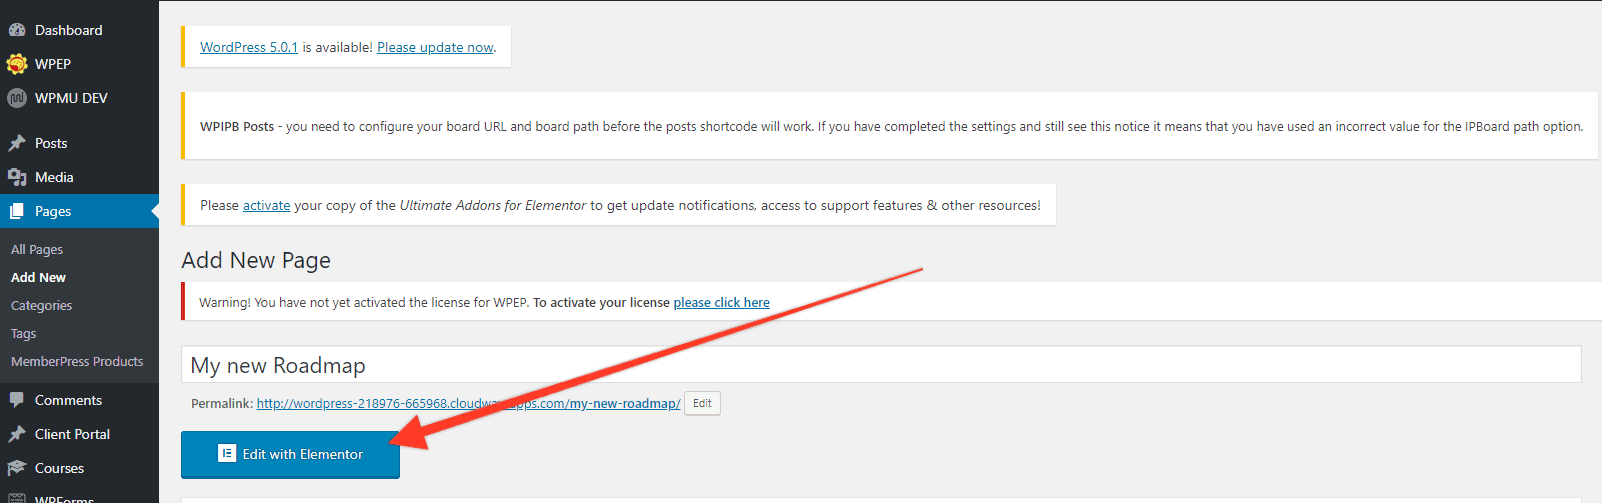
3 – Search for Timeline element and add it to your page.
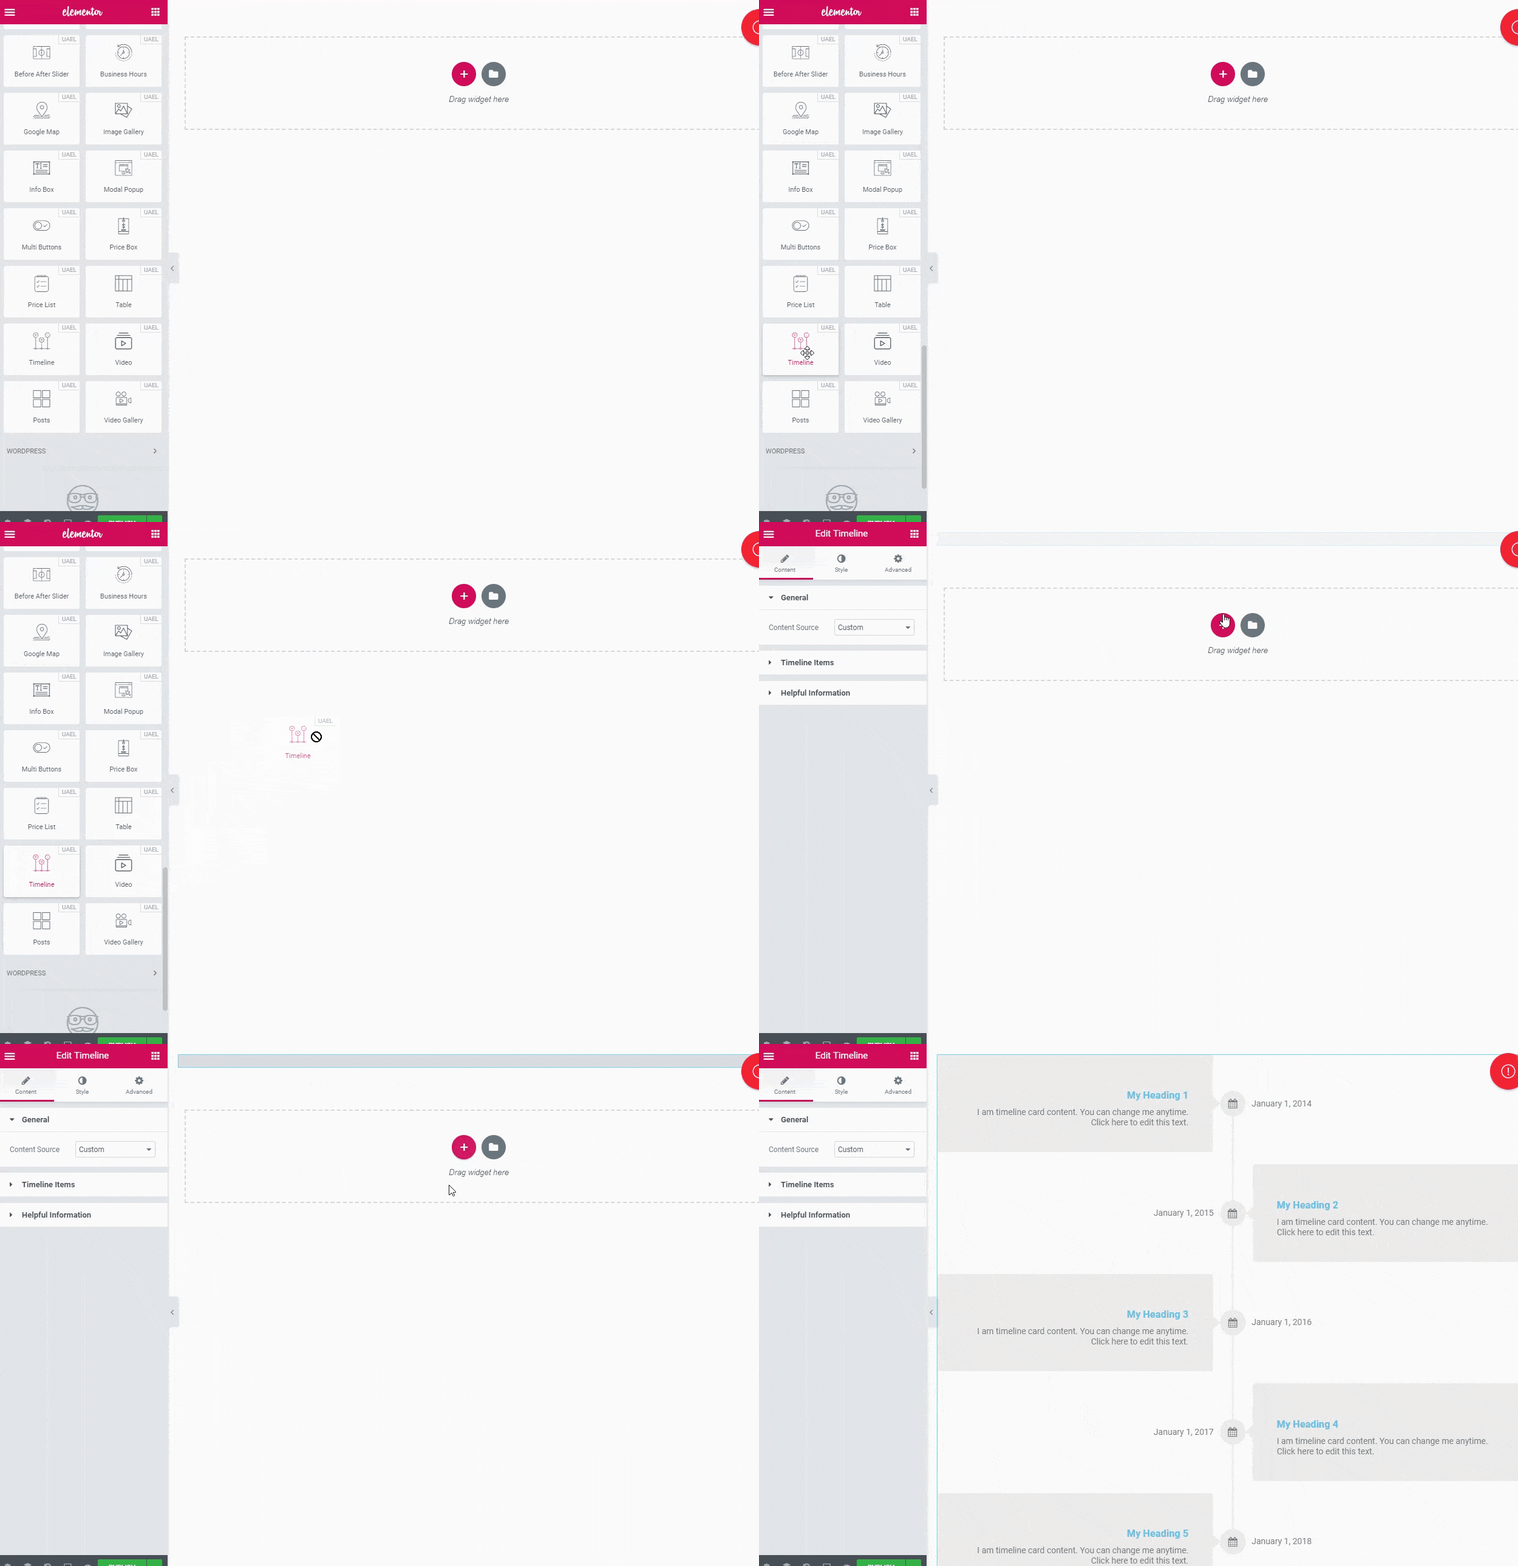
4 – Add another element “Accordion”.
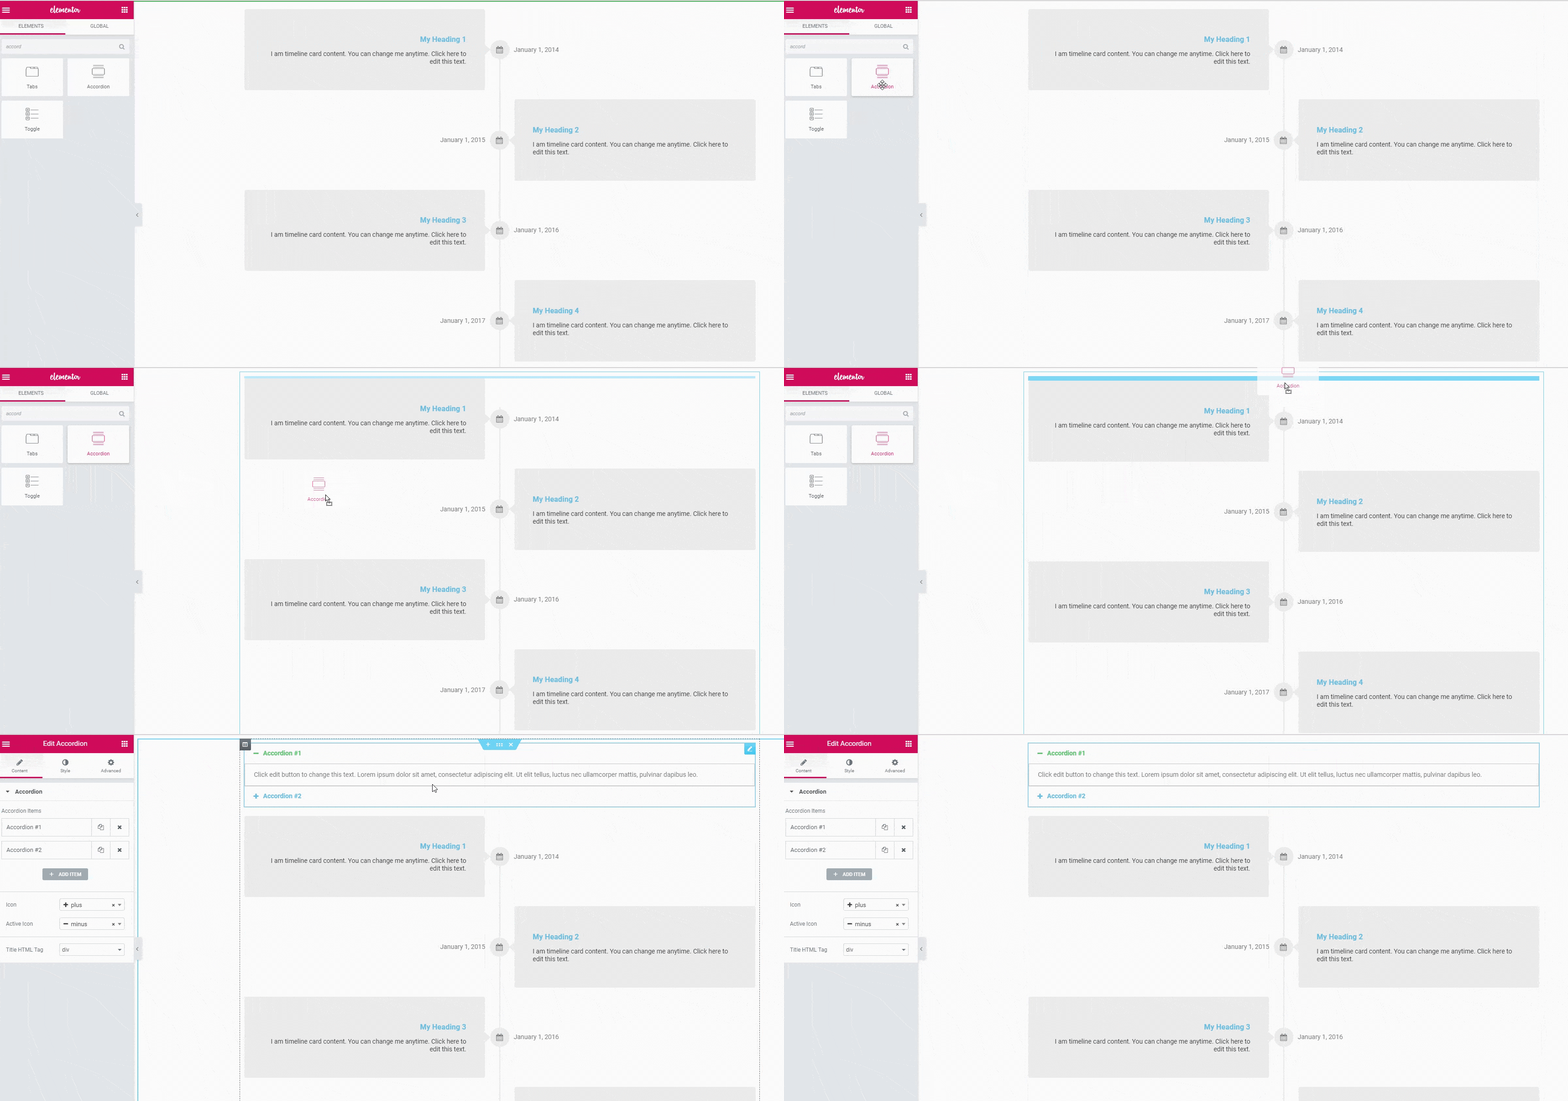
7 – Click on preview (eye) button next to PUBLISH. A new tab should open.
8 – Right click on accordion element, select “inspect”, and copy its HTML content.
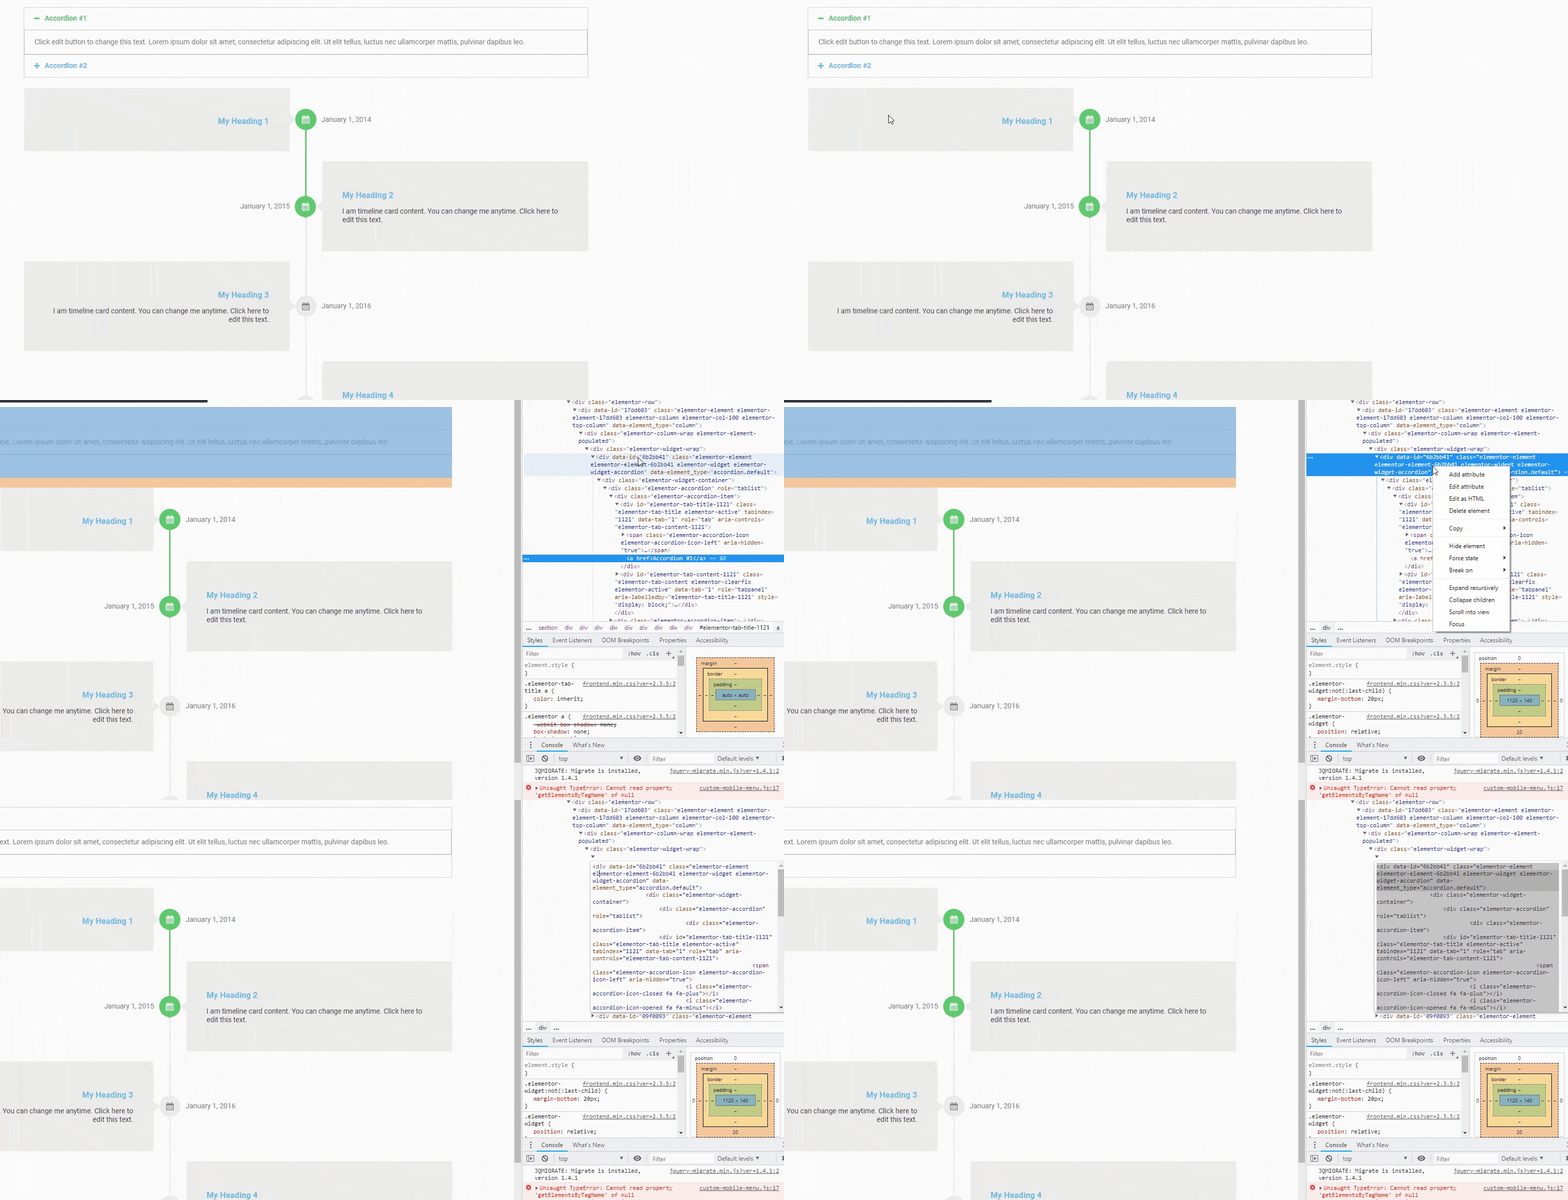
(Select all shortcut: CTRL + A)
9 – Go back to previous editor tab.
10 – Click on your Timeline element.
11 – Add the HTML content we copied to Timeline Items:
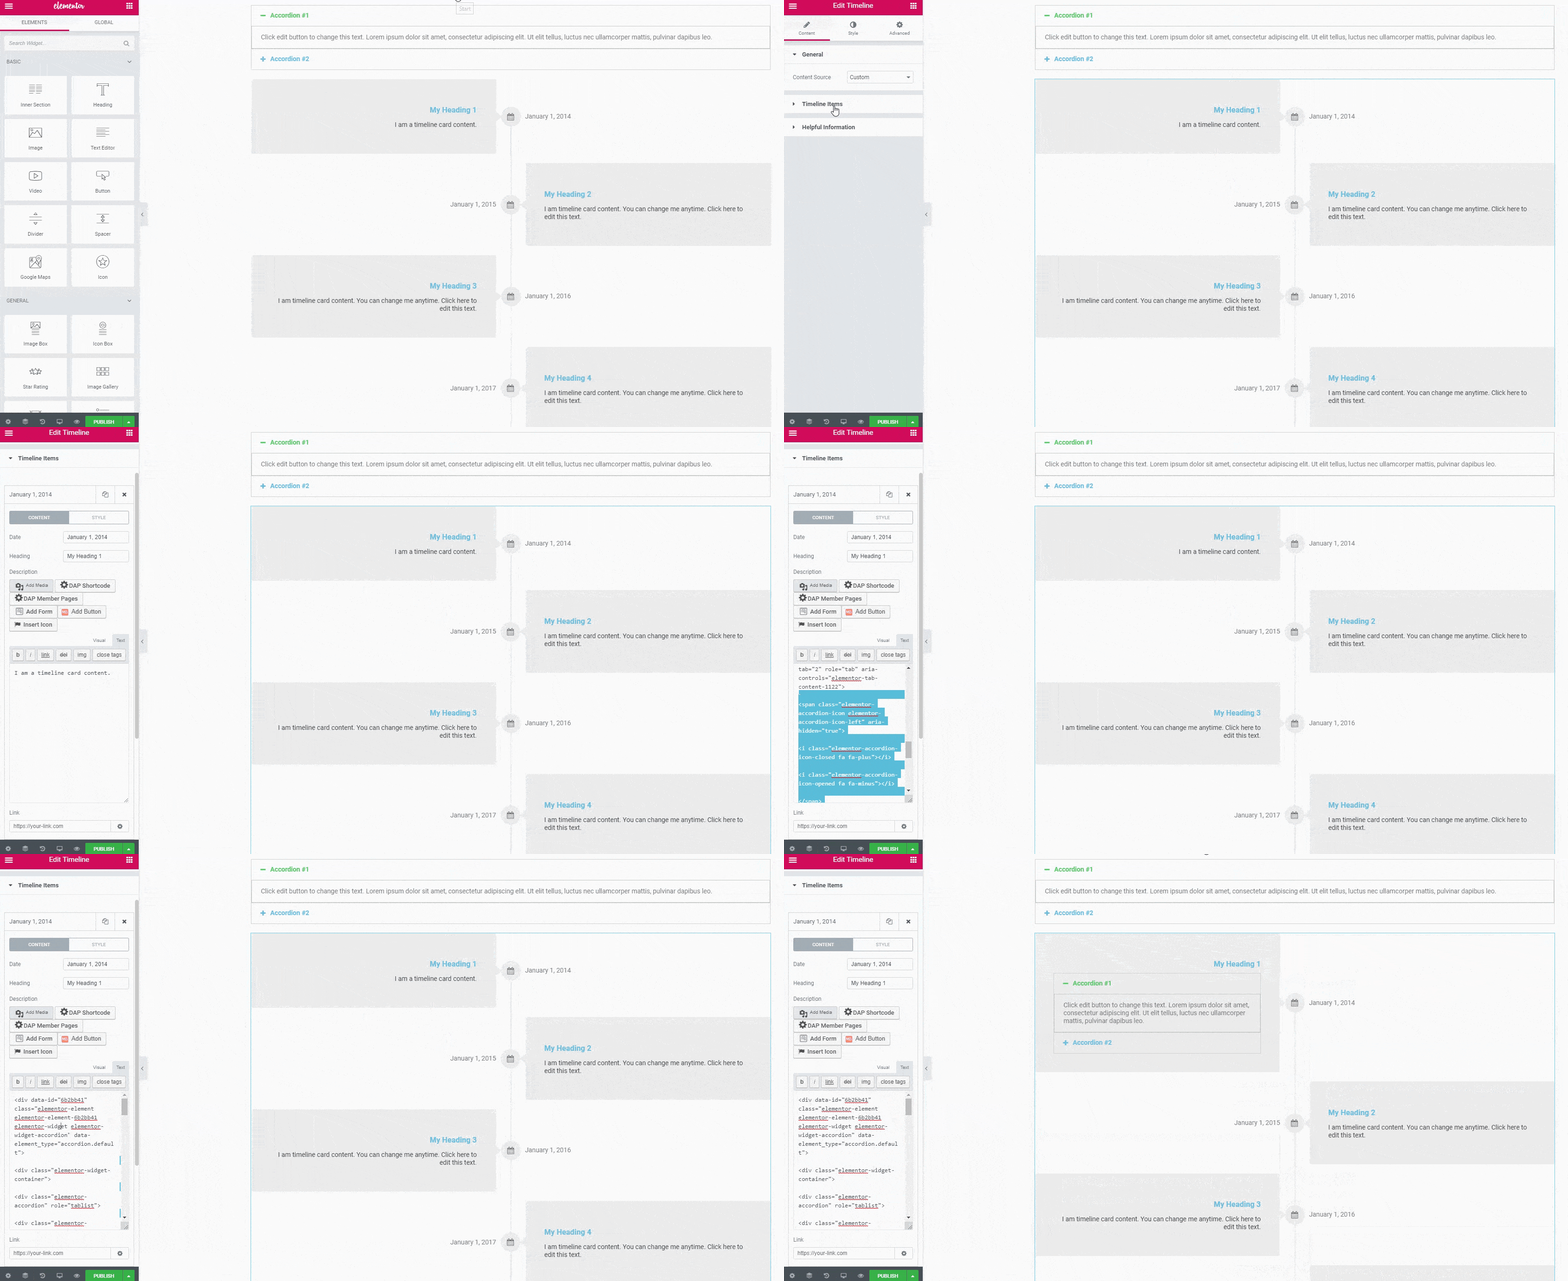
(Make sure you use “CTRL + A” shortcut after you paste html content, otherwise it won't take effect)
12 – Repeat step 9. for all other Timeline Items.
13 – Make sure you hide this accordion, we are only using it as a model for our timeline items (do NOT delete it).
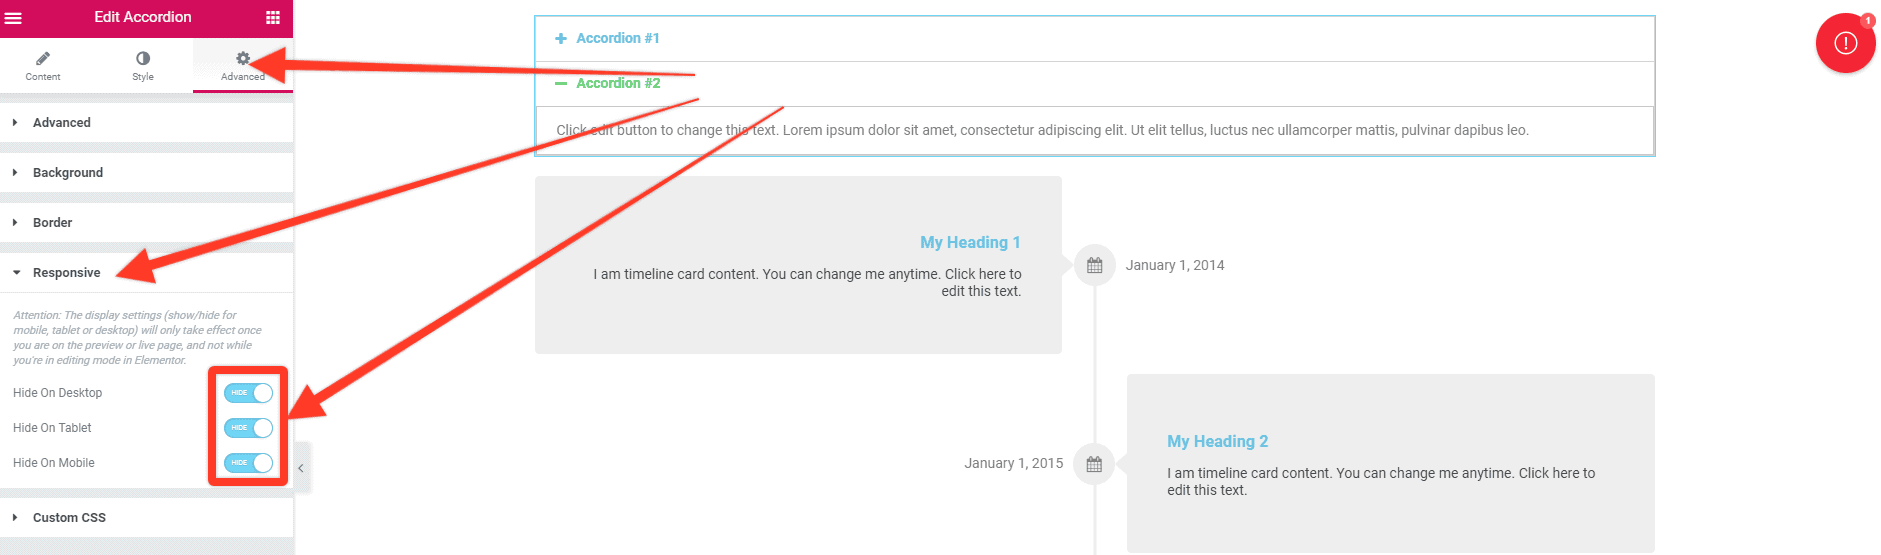
14 – To change style (for example background of timeline items) select timeline, in editor click on Style tab and expand “Timeline Items”.
15 – Click on Background Color and select color you want, I have selected transparent color:

16 – Now you can style it however you like.
End result
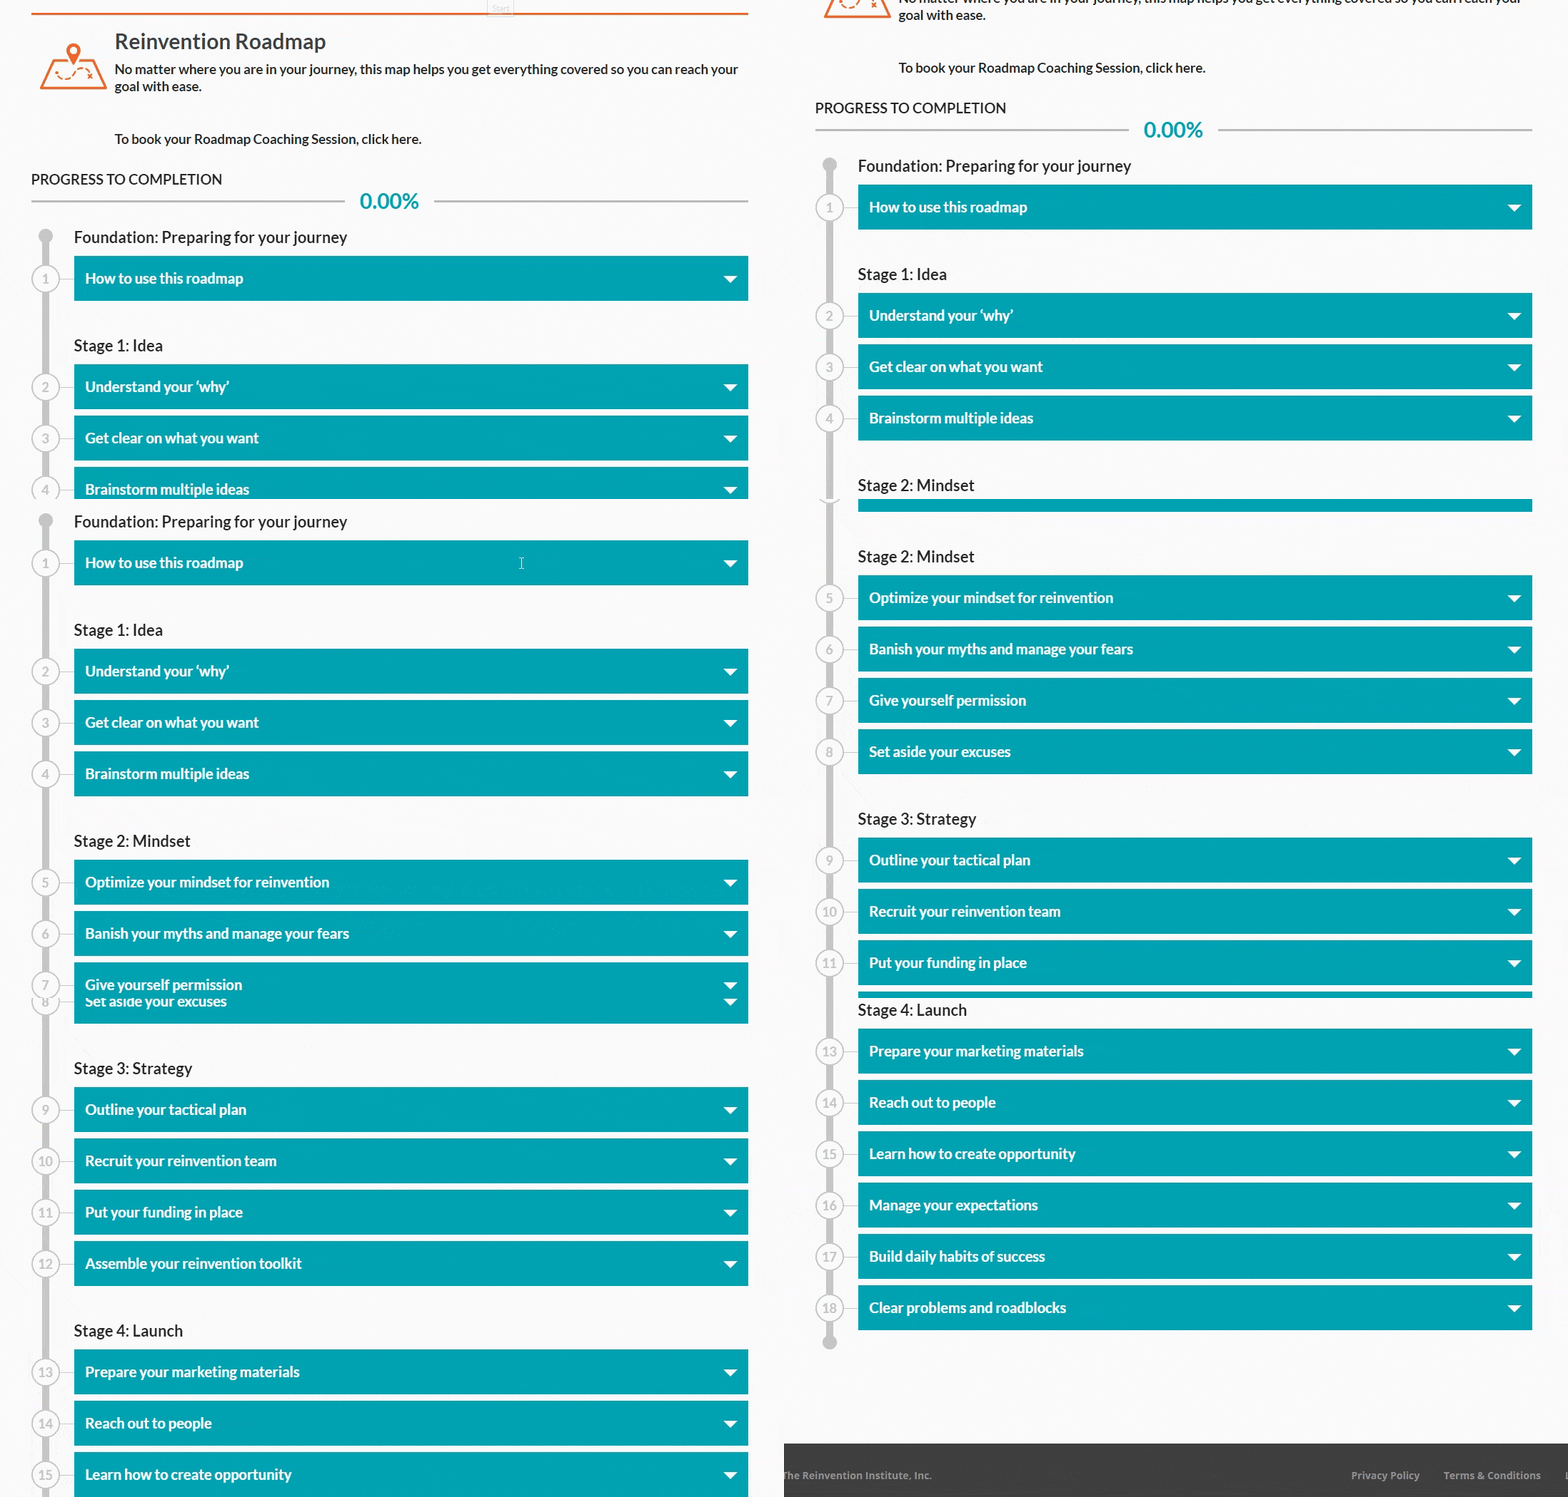
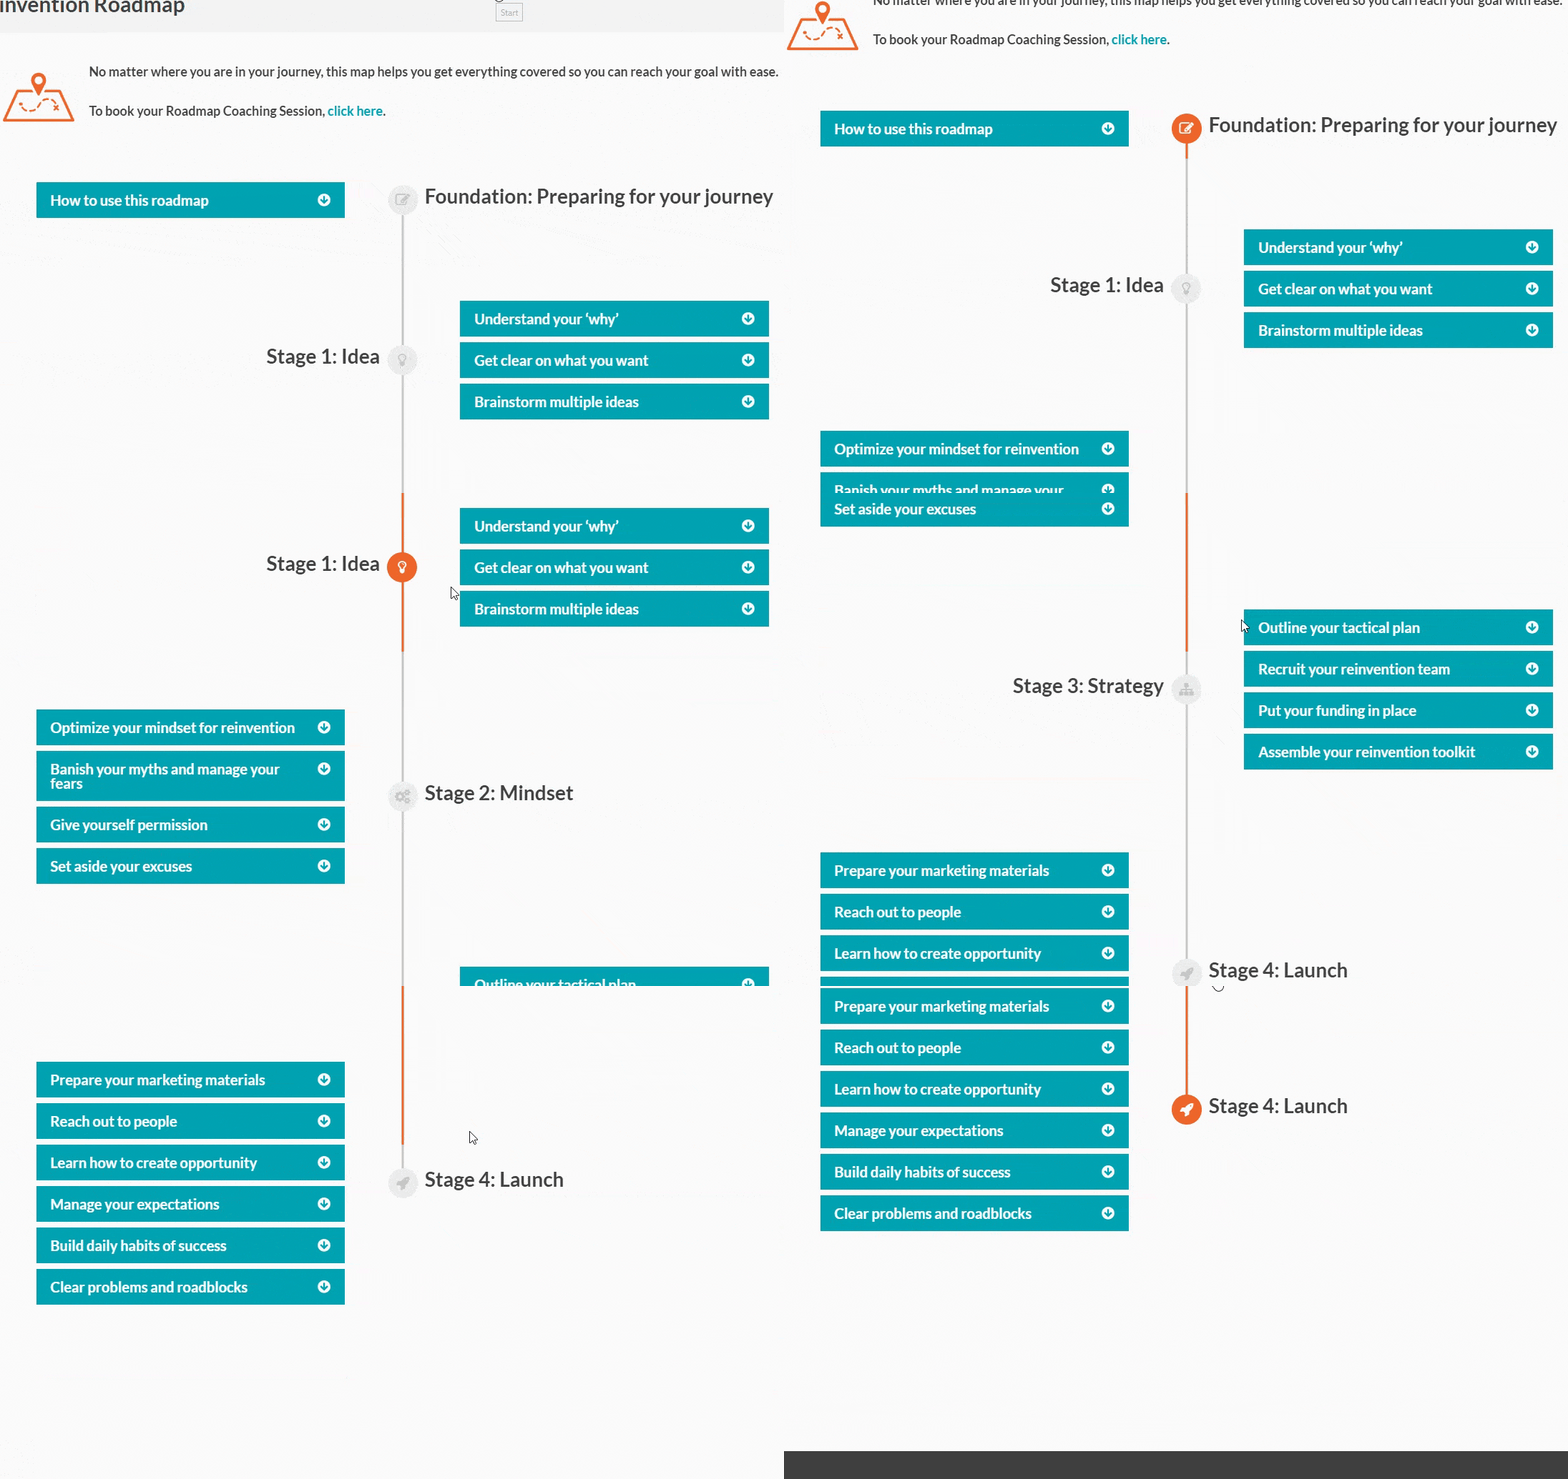
Here is how old roadmap looks VS the new version:
WPEP Roadmap
Elementor Roadmap
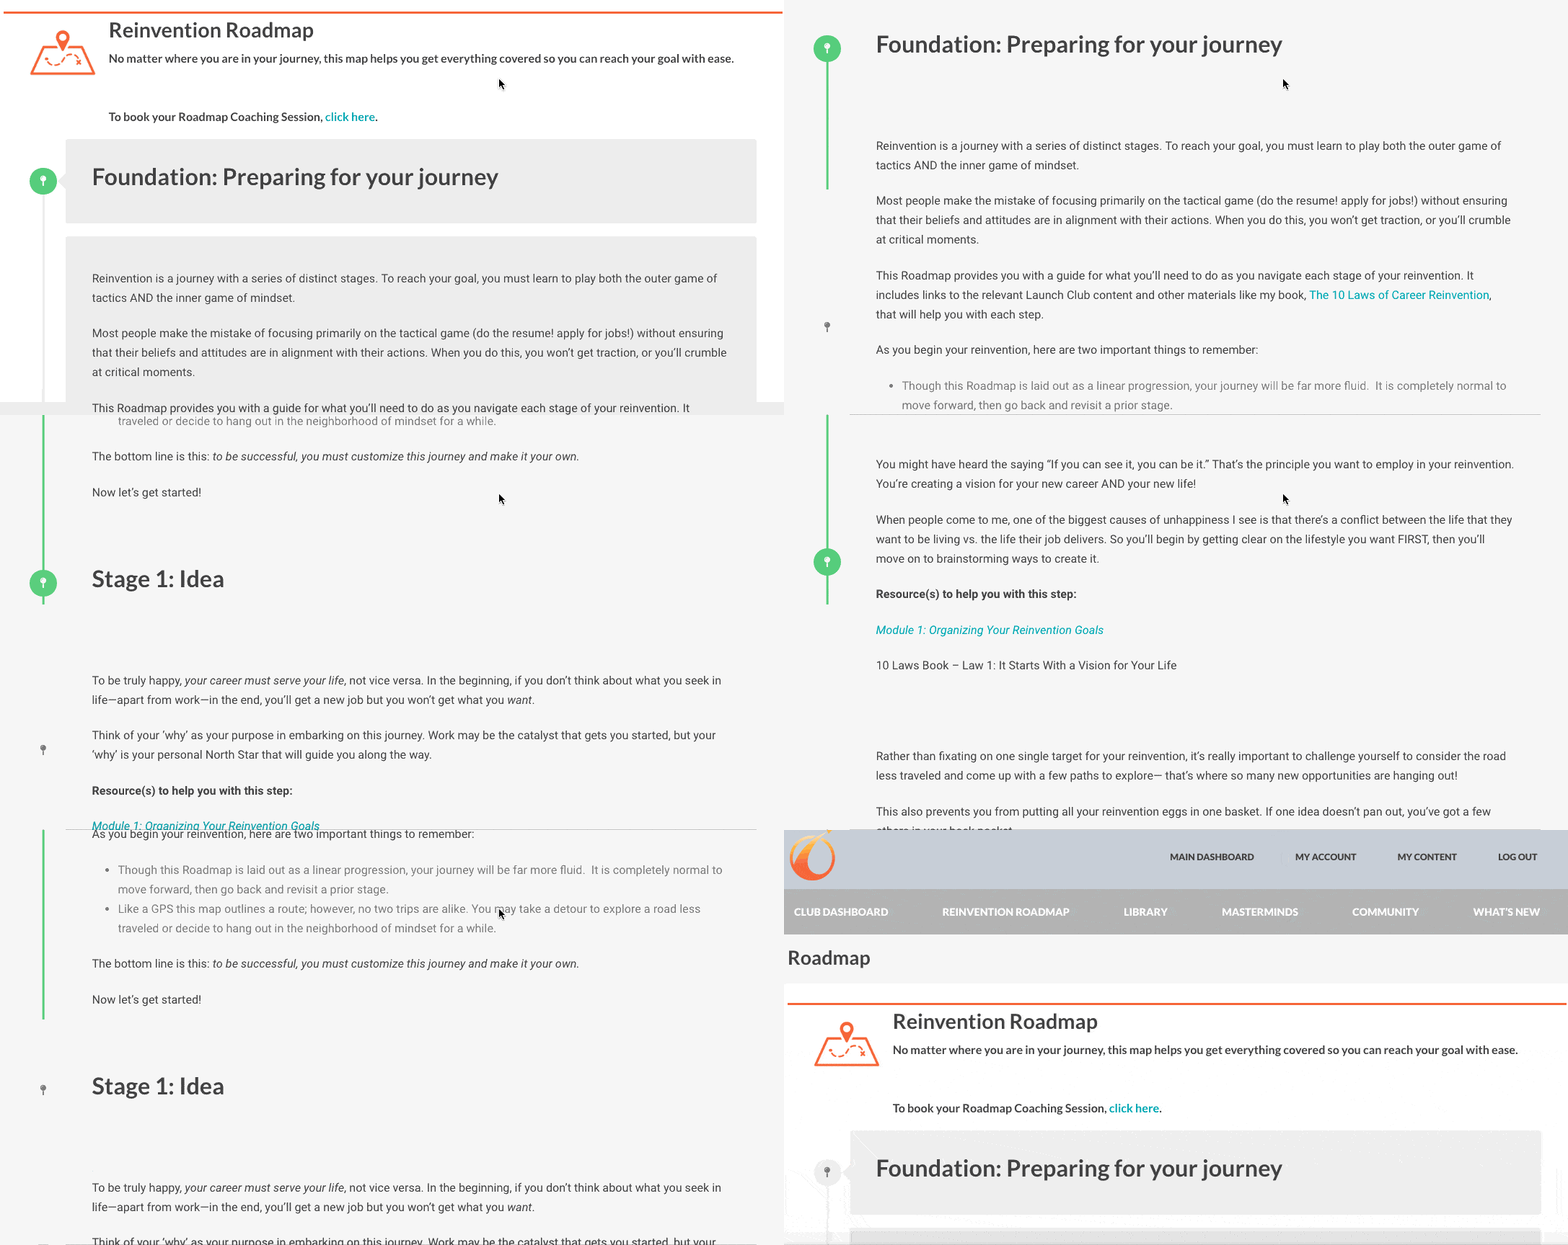
And here's another example with a different styling that's also built with the same stack:
Questions? Comments? Leave your thoughts below!




1 Response
Nice, thank You